Yesterday was forecast to be the last good weather day for a while so Karen & Crag took the opportunity to finish off the Wild Ennerdale fixed point photographs. There were two left to do, one on the summit of Haycock & one on the smaller mound Tewit How on the ascent.
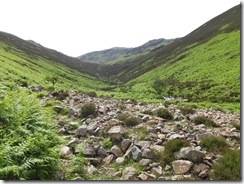
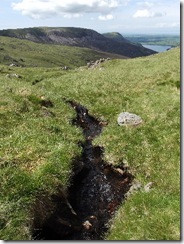
The path follows Deep Gill before turning & starting the steep ascent up Tewit How (left), Haycock is the summit in the distance

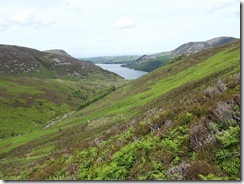
Part way up the bank & a little bit of Ennerdale comes into view

The path is indistinct & you just pick your way through the ferns & heather

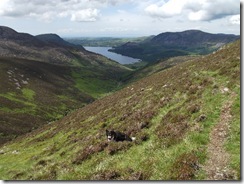
Higher up & more of Ennerdale is in view, Deep Gill looks a long way down now


We have done the steepest part of the climb & are now on the ridge line upto Tewit How

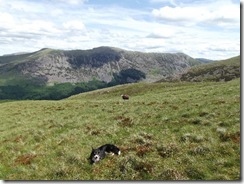
Somebody is a little worn out as he has been chasing sticks most of the way so far

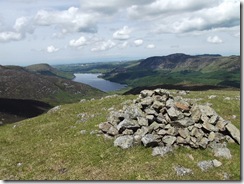
The summit cairn on Tewit How

The 1st panoramic shot, Steeple around to Haycock, you can see the route up from here

And the second one, Caw Fell across the lake and around to High Stile

Zooming in on Steeple & Scoat Fell

And across the valley to Red Pike & High Stile

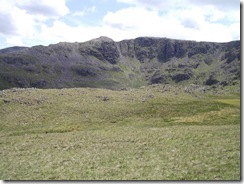
A small tarn on Tewit How

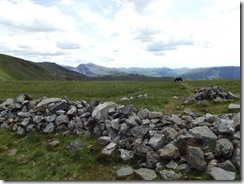
We then climb up to the next ridge line where we meet “The Wall” (it stretches for 6 miles along the southern side of Ennerdale & when you walk it it seems to go on forever)

The wall in the opposite direction to Scoat Fell

Looking back once we have started the climb up Haycock

Zooming in on Scafell Pike & Sca Fell

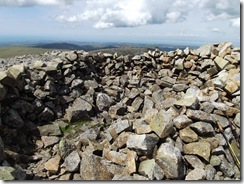
The shelter at the top of Haycock (797m)

The panoramas aren’t as interesting here are the summit plateau is pretty barren


The wall crosses through the summit

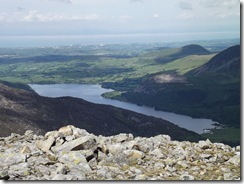
Most of Ennerdale Water is in view here

Then we begin out descent taking a slightly different route back, Crag playing in a small beck

Then looking for a stick, piece of heather, root, actually anything that can be thrown is fair game

It was nice to get out on the tops again although the paths or lack of them doesn’t make Haycock the most pleasant of ascents in places


