
 Our route started on the Easedale Road as we had when we went up Helm Crag
 But this time we carried on up the Far Easedale valley & were surprised to see this monkey puzzler tree
 Helm Crag is the fell you can see the slopes of to the right with Gibson Knott in the middle & Calf Crag to the left
  As we climb up looking across to Helm Crag
 Looking back at the path we have come up, we followed the wall up & turned to come up Tarn Crag
 We started in trousers & fleeces but in the valley stripped down to shorts & t-shirts & stayed like that all day
 Easedale Tarn comes into full view, the fell just to the right will be our third of the day & we will drop down to the tarn to return to Grasmere
 Looking up to the summit
 The last section
 The path has disappeared so we pick our route up

The Langdale Pikes
 We have reached the summit, we will be heading off towards the cliff face then taking the path to the left of it to the ridge line.
 Wainwright drew this of the view at the summit
 Not surprisingly it really hasn't changed

It is starting to get a bit hazy, looking back to Grasmere
 Tarn Crag (550m)
 Codale Tarn, we will get close but not quite down to it if we contour our route right
 We try to keep as much height as we can as we drop down
 Lang Crag (the cliffs we could see from Tarn Crag summit)
 Looking back to Tarn Crag
 Codale Tarn as we start climbing again
 We meet up with a group of three walkers who are just doing a circular walk taking in our third summit Blea Rigg
 Yes Andy was throwing a stick for Crag, he was quite happy to keep running up & down this slope
 Looking back at Tarn Crag as we reach the ridge which will take us to Sergeant Man (the only part of the fell walk we repeat on the return from the summit)
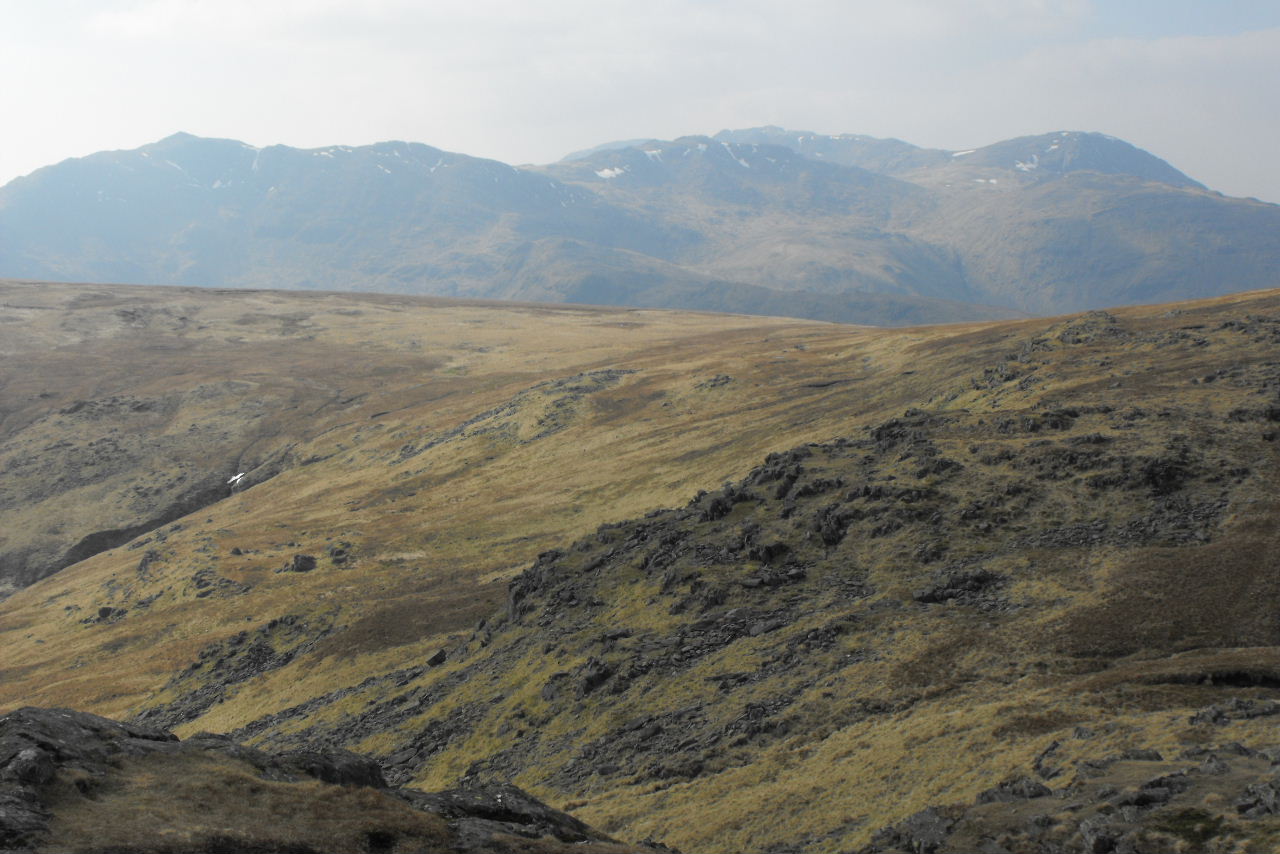
 Sergeant Man looks quite imposing from here
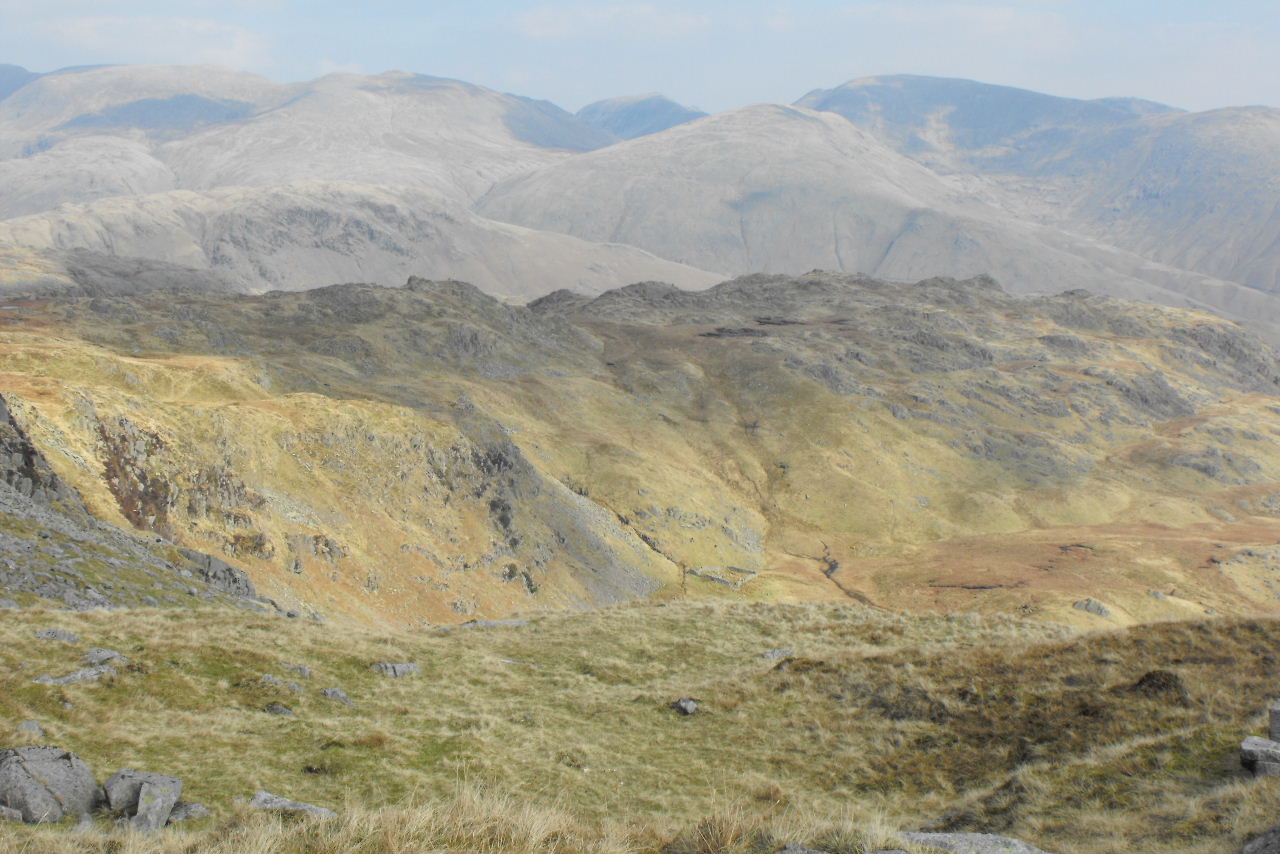
 Again a bit hazy but some last snow on Bowfell, the Scafells & Great End
 Great Gable
 Windermere in the distance
 Sergeant Man (736m) the highest point we will be at today & also our lunch spot
 We are heading for our last summit above the cliffs below us
 Codale & Easedale Tarns
 As we move along the ridge Codale Tarn with Tarn Crag behind
 Easedale Tarn
 It is a really easy walk to Blea Rigg as it is downhill all the way until the last bit which is only 20m of climb
 Blea Rigg (541m)
 Sergeant Man is the summit in the centre
 There isn't an official right of way down to Easedale Tarn from the summit so we pick our way off between the crags (only the sort of thing we would do in these clear, dry conditions)
 Quite a steep descent on the grassy banks
 Tarn Crag towering over the tarn
 We then descend down the very well used route to Grasmere, some of the waterfalls on Sourmilk Gill
 And looking back at the cascade

We had a lovely 10mile walk (800m+ ascent) in the glorious sunshine, one more walk from Grasmere & two more fells & we have completed the Central Fells
No comments:
Post a Comment